 Pin It
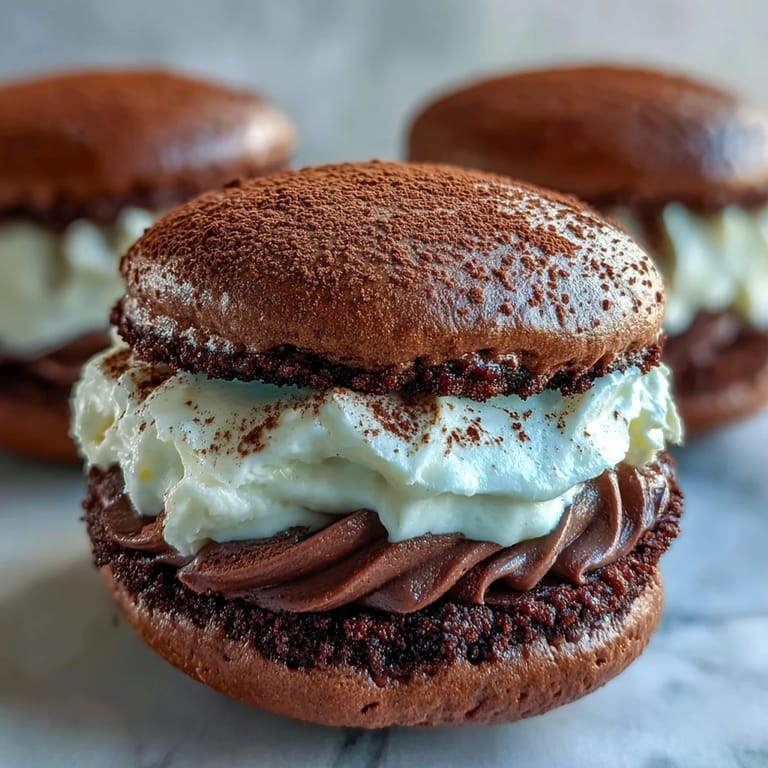
 My kitchen smelled like a coffee shop collided with a bakery the afternoon I decided to merge two of my favorite desserts into one handheld treat. I had just returned from an Italian bakery where I'd devoured the most incredible tiramisu, and that same evening, I spotted a half-empty bag of cocoa powder in my pantry. The idea hit me instantly: what if I could capture that creamy, coffee-spiked magic between two soft chocolate cookies? By midnight, my counters were dusted with cocoa, my mixer was humming, and I was already texting photos to my best friend.
I made these for my sister's birthday last spring, and she nearly cried when she took her first bite. She'd been reminiscing all week about a trip we took to Rome years ago, where we shared tiramisu at a tiny cafe near the Trevi Fountain. These little sandwiches brought her right back to that moment. I watched her close her eyes, smile, and say it tasted like that trip folded into something she could hold in her hand.
Ingredients
- All-purpose flour (210 g): This gives the cookies their soft, cakey structure, so measure it carefully and don't pack the cup.
- Unsweetened cocoa powder (55 g): Use a good quality Dutch-process cocoa if you can, it makes the chocolate flavor deeper and less bitter.
- Baking powder and baking soda: Together, these help the cookies puff up just enough to stay tender without becoming too airy or crumbly.
- Salt (1/4 teaspoon): Just a pinch balances all the sweetness and makes the cocoa come alive.
- Unsalted butter (115 g), softened: Let it sit at room temperature so it creams smoothly with the sugar, this is the key to a fluffy batter.
- Granulated sugar (200 g): Sweetens the cookies and helps them hold their shape while baking.
- Large egg: Binds everything together and adds richness to the dough.
- Vanilla extract (1 teaspoon): A little warmth that complements both the chocolate and the coffee.
- Whole milk (240 ml): Keeps the cookies moist and tender, don't swap for skim or they'll dry out.
- Mascarpone cheese (225 g), chilled: This is the heart of the filling, creamy and slightly tangy, just like real tiramisu.
- Heavy cream (120 ml), cold: Whips into the mascarpone to make it light and spreadable.
- Powdered sugar (60 g), sifted: Sweetens the filling without any graininess, sifting is worth the extra step.
- Instant espresso powder (1 tablespoon): Dissolving this in hot water creates a concentrated coffee punch that doesn't water down the cream.
- Hot water (1 tablespoon): Just enough to bloom the espresso powder.
- Vanilla extract (1 teaspoon, for filling): Smooths out the coffee edge and ties everything together.
- Unsweetened cocoa powder, for dusting: The final flourish that makes these look bakery-perfect.
Tired of Takeout? 🥡
Get 10 meals you can make faster than delivery arrives. Seriously.
One email. No spam. Unsubscribe anytime.
Instructions
- Preheat and prep your pans:
- Set your oven to 350°F (175°C) and line two baking sheets with parchment paper. This keeps the cookies from sticking and makes cleanup a breeze.
- Whisk the dry ingredients:
- In a medium bowl, combine the flour, cocoa powder, baking powder, baking soda, and salt until evenly mixed. Set this aside while you work on the wet ingredients.
- Cream the butter and sugar:
- In a large bowl, beat the softened butter and granulated sugar together until the mixture is light, fluffy, and almost doubled in volume. Then beat in the egg and vanilla extract until fully incorporated.
- Combine wet and dry:
- Add the dry ingredients to the butter mixture in three additions, alternating with the milk, starting and ending with the dry ingredients. Mix gently until just combined, don't overmix or the cookies will turn out tough.
- Scoop the batter:
- Using a medium cookie scoop or tablespoon, drop 24 evenly sized mounds of batter onto your prepared baking sheets, leaving about 2 inches between each one. They'll spread just a little as they bake.
- Bake until springy:
- Bake for 10 to 12 minutes, until the tops spring back lightly when you press them with your finger. Let them cool on the pans for 5 minutes, then transfer to a wire rack to cool completely before filling.
- Make the espresso mixture:
- Dissolve the instant espresso powder in the hot water and let it cool to room temperature. This prevents the filling from getting too warm and runny.
- Whip the mascarpone filling:
- In a chilled bowl, beat the mascarpone, heavy cream, and powdered sugar together until smooth and thick, but be careful not to overbeat or it can turn grainy. Gently fold in the cooled espresso and vanilla until just combined, then chill the filling for 20 minutes if it feels too soft to spread.
- Assemble the whoopie pies:
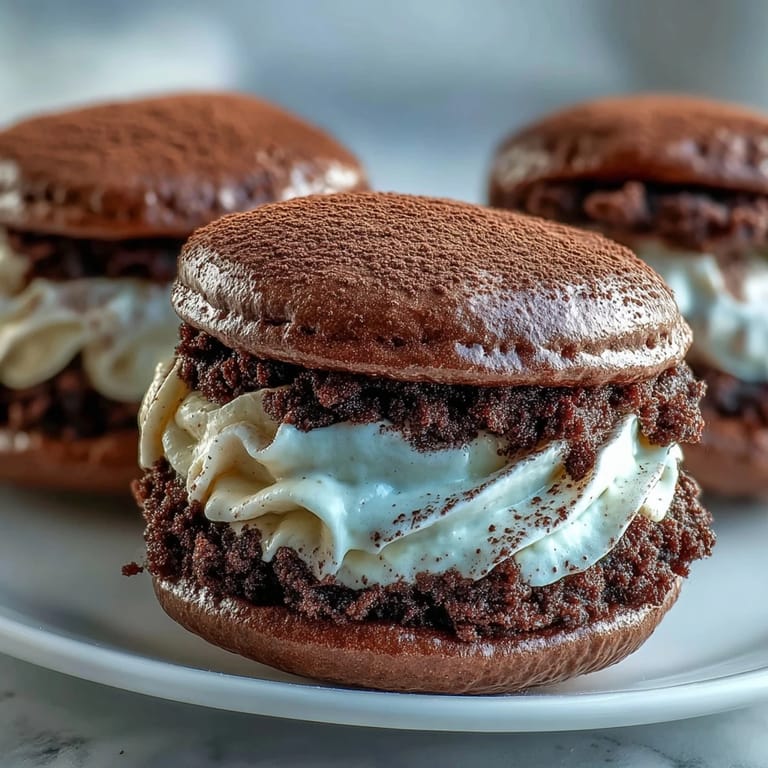
- Spread or pipe a generous dollop of the coffee mascarpone filling onto the flat side of half the cooled cookies. Top each with another cookie, flat side down, to create little sandwiches.
- Dust and chill:
- Lightly dust the tops with unsweetened cocoa powder using a fine sieve. Refrigerate the assembled whoopie pies for at least 30 minutes before serving so the filling sets and the flavors meld together beautifully.
 Pin It
 The first time I brought these to a dinner party, my friend's mom pulled me aside and told me they reminded her of the pastries her nonna used to make on Sundays. She didn't grow up with whoopie pies, but the coffee and cocoa took her right back to her childhood kitchen in Napoli. That's when I realized food doesn't just feed people, it reconnects them to the places and people they love.
How to Store and Serve
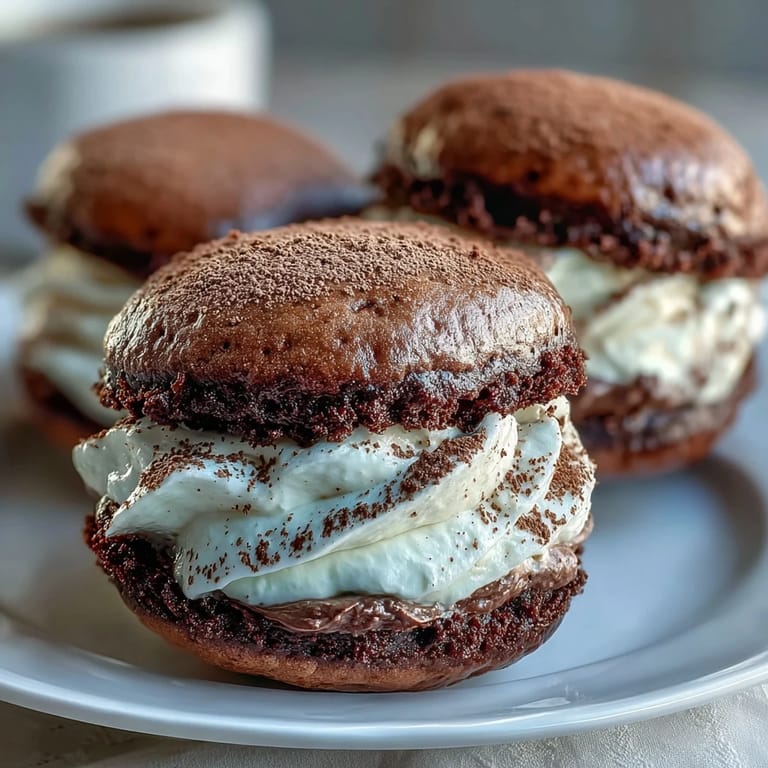
These whoopie pies taste best when they've had a little time to chill and set in the fridge, the filling firms up just enough to hold its shape without losing that creamy texture. Store them in an airtight container in the refrigerator for up to two days, though they rarely last that long in my house. If you want to make them ahead, you can bake the cookies a day in advance and keep them tightly wrapped at room temperature, then whip up the filling and assemble them a few hours before serving. Just remember to let them come to cool room temperature for about 10 minutes before serving so the filling softens slightly and the flavors open up.
Swaps and Variations
If you can't find mascarpone, you can substitute it with full-fat cream cheese, but know that the flavor will be tangier and less delicate. For a boozy grown-up version, stir a tablespoon of coffee liqueur or dark rum into the filling, it'll taste even more like traditional tiramisu. You can also swap the instant espresso powder for finely ground coffee if that's what you have, just dissolve it the same way and strain out any gritty bits. If you're not a coffee fan, try using chai spice or vanilla bean paste in the filling instead for a completely different but equally delicious twist.
Troubleshooting and Final Tips
If your cookies spread too much or come out flat, your butter was probably too warm or you didn't measure the flour correctly, so make sure to spoon and level it next time. If the filling is too runny, pop it in the fridge for 20 to 30 minutes and it should firm up enough to pipe or spread easily. Don't worry if your cookies aren't perfectly round, the rustic look is part of their charm and once you dust them with cocoa, they'll look bakery-beautiful.
- Use a cookie scoop for evenly sized cookies so they bake at the same rate and pair up neatly.
- Sift the cocoa powder for dusting to avoid clumps and get that smooth, professional finish.
- Let the assembled whoopie pies chill for at least 30 minutes so the cookies soften slightly and the filling sets, this is when the magic really happens.
 Pin It
 Every time I make these, I'm reminded that the best recipes are the ones that surprise people and make them smile. Whether you're serving them at a party or sneaking one with your morning coffee, I hope they bring you as much joy as they've brought me.
Recipe FAQs
- → Can I make these whoopie pies ahead of time?
Yes, you can prepare these up to 2 days in advance. Store them in an airtight container in the refrigerator. The filling stays creamy and the cookies maintain their soft texture when properly stored.
- → What can I substitute for mascarpone cheese?
Cream cheese can be used as a substitute, though the flavor will be slightly tangier and less rich. For best results, use full-fat cream cheese at room temperature and beat it until very smooth before adding other ingredients.
- → How do I prevent the filling from becoming too runny?
Make sure your mascarpone and heavy cream are well-chilled before whipping. Avoid overbeating, which can cause the mixture to separate. If the filling seems soft, refrigerate it for 20-30 minutes before assembling.
- → Can I add coffee liqueur to these whoopie pies?
Absolutely! Adding 1 tablespoon of coffee liqueur like Kahlúa or Tia Maria to the mascarpone filling enhances the tiramisu flavor. This creates a more authentic adult version of the classic Italian dessert.
- → Why are my cookies spreading too much during baking?
Ensure your butter is softened but not melted, and that you're measuring flour correctly by spooning it into the measuring cup rather than scooping. Also, make sure your baking powder and baking soda are fresh for proper rise.
- → How should I store leftover whoopie pies?
Keep them refrigerated in an airtight container for up to 2 days. The mascarpone filling requires cold storage. Let them sit at room temperature for 10-15 minutes before serving for the best texture and flavor.