 Pin It
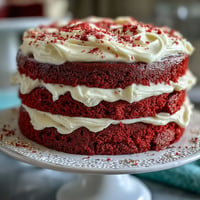
 Some desserts look so lovely, you almost hesitate to cut the first slice—this Bridal Shower Rosé Velvet Cake was one of those rare beauties. It was a warm Saturday, sunlight painting golden shapes across my kitchen table, when I attempted my first shimmering gold drip. My friend’s playlist filled the room with easy energy, and for a moment, the clinking of measuring spoons felt like part of the melody. By the time the layers cooled, the entire kitchen smelled softly of cocoa and wine, making me want to linger as long as possible. This cake brings together everything I adore about celebratory baking: show-stopping looks, delicate flavors, and a certain sense of occasion in every bite.
The first time I baked this cake for a friend's bridal shower, I realized halfway through stacking the layers that my hands were trembling—half excitement, half nerves. We'd spent the morning deep in plans and laughter, so decorating together felt like a little extension of the celebration itself.
Ingredients
- All-purpose flour: Gives the cake its soft and tender crumb—sift it well to keep things airy.
- Granulated sugar: The foundation for sweetness and a lovely golden hue—try to avoid clumps by whisking it through with other dry ingredients.
- Baking soda: Ensures a gentle rise so every layer stays light—triple check you’re not reaching for powder by accident.
- Fine salt: Balances out all the rosy, sweet flavors—don’t skip it, though it's subtle.
- Unsweetened cocoa powder: Just a hint makes the pink richer and adds an irresistible depth to each bite.
- Vegetable oil: Keeps the crumb extra moist—even the next day, slices stay fresh.
- Eggs: Bind everything together—room temperature is best for smooth mixing.
- Buttermilk: Tang brings out the rosé notes and helps tenderize the cake—a kitchen classic worth buying especially.
- Rosé wine: The heart of the recipe—a dry or sparkling rosé works best for a floral touch without overpowering.
- Vanilla extract: Rounds out the flavors—use real vanilla if you can, for warmth.
- White vinegar: Reacts with the baking soda for extra fluff—measure carefully so the taste disappears, but the tenderness stays.
- Pink or rose gel food coloring: A little goes a long way—build up the color slowly for your ideal blush.
- Unsalted butter: Essential for creamy, dreamy rosé buttercream—room temperature is key for smoothness.
- Powdered sugar: Provides structure and sweetness for the frosting—sift it, or risk a lumpy finish.
- Heavy cream: The secret to silky gold drip—wait for the white chocolate to cool for the best flow.
- White chocolate chips: Melt into a glossy canvas for your edible gold—double check for smoothness as you stir.
- Edible gold luster dust: Adds that magical sparkle; always use food-safe brands meant for decorating.
- Vodka or clear lemon extract: Thins the luster dust into a paint—vodka evaporates quickly, so the gold locks in fast.
- Edible rose petals or berries: Optional, but the prettiest finishing touch for drama and color contrast.
Tired of Takeout? 🥡
Get 10 meals you can make faster than delivery arrives. Seriously.
One email. No spam. Unsubscribe anytime.
Instructions
- Get the kitchen hot:
- Preheat your oven to 350°F (175°C) and line three 8-inch pans with parchment—you’ll hear them crackle as you smooth the paper in.
- Whisk the dry:
- In a big bowl, sift together the flour, sugar, baking soda, salt, and cocoa powder—run a spoon through to break up any sneaky lumps.
- Mix up the wet:
- Whisk the oil, eggs, buttermilk, rosé, vanilla, and vinegar until silky; the scent will be softly floral with just a wink of tang.
- Batter up:
- Combine wet and dry just until the streaks disappear—then swirl in the food color, watching for that perfect pale blush.
- Bake the layers:
- Divide batter between pans and tap to level; bake 30-35 minutes, until a toothpick comes out clean and the tops spring back.
- Cool with patience:
- Let cakes sit for 10 minutes, then gently ease them onto racks to cool completely—the toughest wait, but worth it.
- Create the buttercream:
- Beat butter until fluffy and pale, then add powdered sugar in clouds, mixing well and adding rosé, vanilla, and salt for flavor and loft.
- Fluff and smooth:
- Whip buttercream for 2-3 minutes; add more rosé or sugar if you need a silkier or thicker consistency.
- Stack it up:
- Level cakes if needed, then sandwich with generous buttercream layers—be gentle, so the color stays even and crumbs don’t sneak through.
- Chill and coat:
- Apply a thin crumb coat, chill for twenty, then frost with your final dreamy layer—smooth with an offset spatula for those flawless sides.
- Prepare the gold drip:
- Melt white chocolate with cream, then cool until just pourable; in a separate bowl, mix gold luster dust with a little vodka or extract into a paint.
- Drip and dazzle:
- Dribble cooled white chocolate over the cake’s edge, let it set, then paint each drip with gold—take your time and revel in the transformation.
- Finish strong:
- Top with rose petals, berries, or more flecks of gold as your heart desires—the cake is now a centerpiece as much as a dessert.
 Pin It
 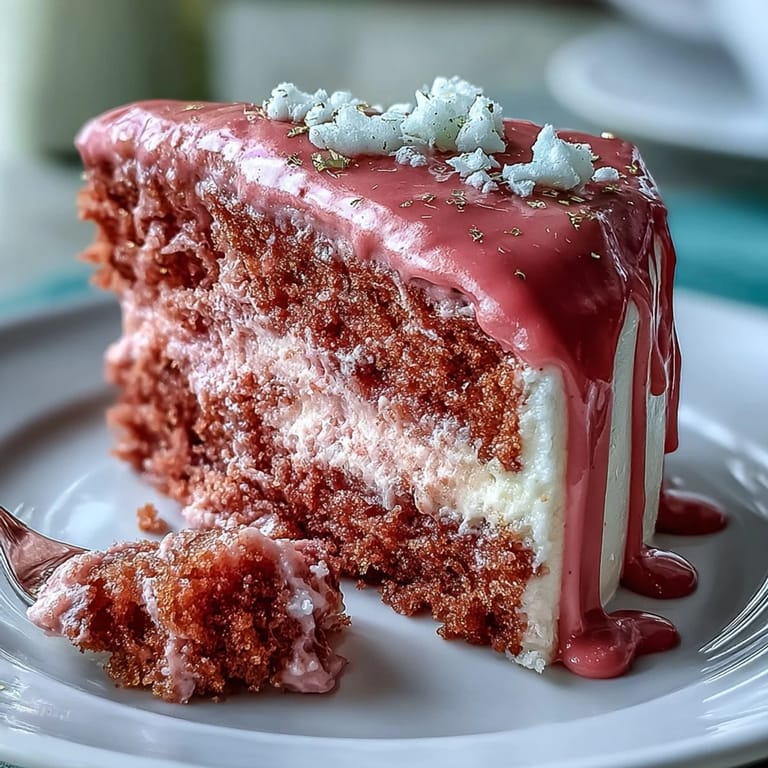 Pin It
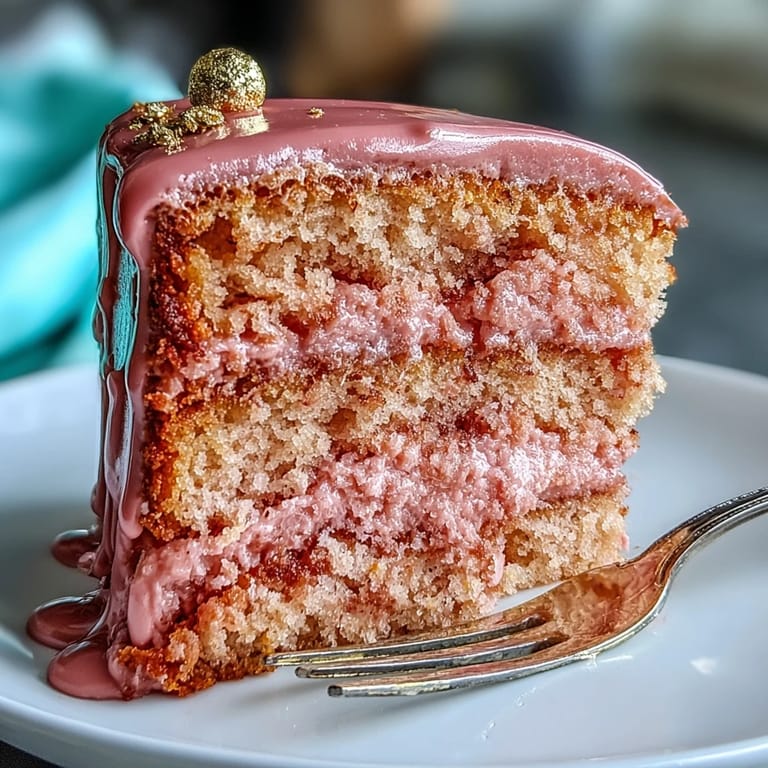
 The day this cake stole the show, someone started humming 'At Last' right as I set it down—whether it was the sparkle or the sweet scent, for a moment the room actually paused just to take it in.
Making It All Come Together
The kitchen felt like a playful art studio as we painted on the gold drip; even a little bit of edible glitter on my cheek made us laugh. Sharing tasks made it less about perfection and more about having fun with friends on a special day.
Bridal Shower Vibes and Presentation
Laying fresh rose petals around the cake plate might seem fussy, but as soon as the gold caught the light, they tied the whole room together. Berries add a fresh bite for guests who want color and flavor as well as glamour.
Storage, Leftovers, and Last-Minute Tricks
Even after a celebratory evening, slices tucked into containers kept beautifully in the fridge. Room-temperature servings let the buttercream become extra plush.
- If your gold paint thickens, add a few extra drops of vodka to loosen it up.
- Set the cake out for 20 minutes before slicing to avoid firmer, chilly texture.
- Don't skip lining pans or you’ll risk losing that perfect round edge!
 Pin It
  Pin It
 Baking this cake always turns my kitchen into a party—even before friends arrive. I hope your version shines just as brightly and brings a little bit of gold-sparkle magic to your celebrations.
Recipe FAQs
- → Which type of rosé works best?
Choose a dry or lightly sparkling rosé with floral notes; it adds subtle acidity and aroma without making the batter too thin. Avoid overly sweet styles that can alter texture.
- → How do I get an even pink color?
Use gel food coloring for a vivid hue without thinning the batter. Add color a little at a time and fold gently to keep the crumb tender and avoid overmixing.
- → How do I ensure smooth buttercream layers?
Beat butter until pale and airy, add sifted powdered sugar gradually, and adjust consistency with small amounts of rosé or cream. Chill briefly between crumb coat and final coat for cleaner edges.
- → Tips for a reliable gold drip?
Melt white chocolate with warm cream until glossy, cool until slightly thickened, then test drip on a chilled edge. Mix edible gold luster dust with a clear extract or vodka to paint once the drip sets.
- → How far in advance can this be made?
You can bake layers and make buttercream a day ahead; wrap cakes and refrigerate, then assemble the day of. If chilled, bring to room temperature before serving for best texture.
- → Any tips for decorating without tearing layers?
Level each layer with a serrated knife or cake leveler, use a turntable and offset spatula for even spreading, and press lightly when stacking to maintain shape and avoid compressed crumbs.